
DIY & tech
How to Build a Smart RV with Home Assistant: The Complete Guide (2026)
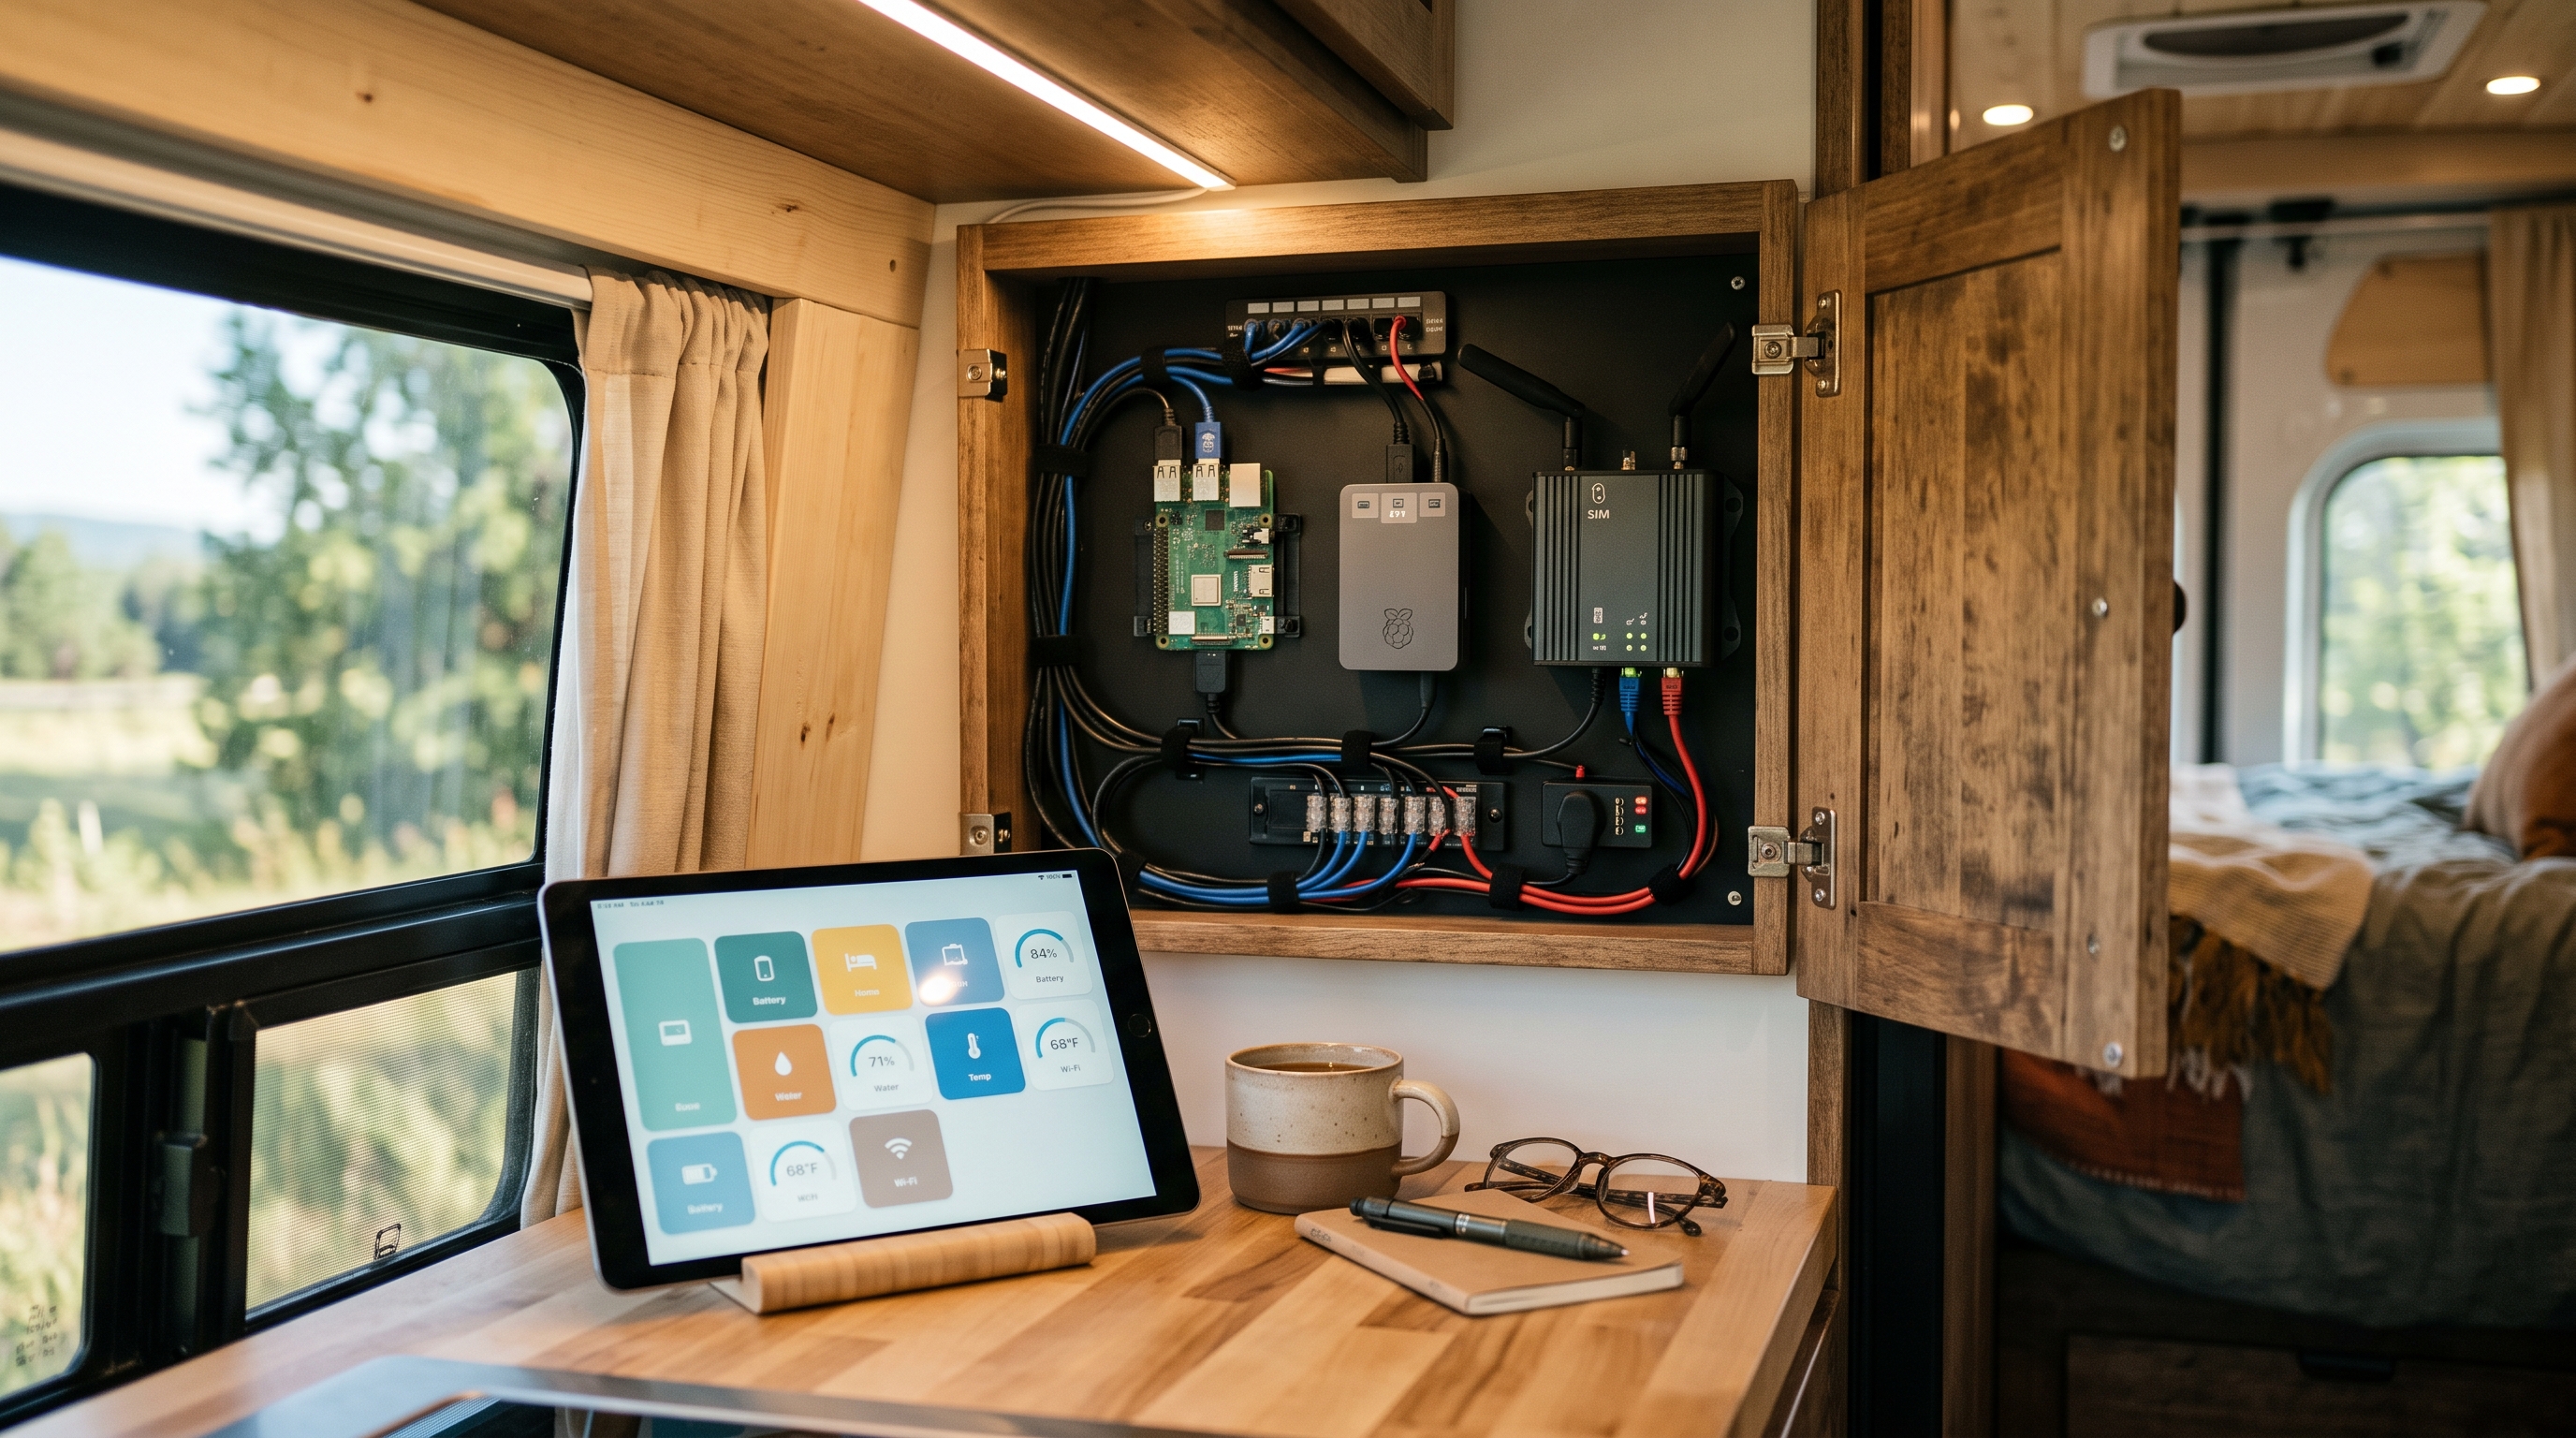
Every commercial RV monitoring system is a bundle of compromises someone else chose for you: their sensors, their carrier, their app, their subscription. If you've read our comparison of the best RV monitoring systems, you know the pattern — each product does two or three things well and quietly gives up on the rest.
Home Assistant is what happens when you refuse the bundle. It's free, open-source home automation software with more than 2,000 integrations and no company between your sensors and your phone. Put it on a small computer in your rig and you get one dashboard for interior temperature, battery voltage, tank levels, shore power, leaks, and doors — with alerts that behave exactly the way you decide they should.
This is a build plan, not a product review: researched hardware, verified integrations, and written-out automations, so you can go from empty cabinet to working system in a weekend. We'll also be honest about the part most DIY guides skip — what breaks, and what it costs you when it does.
1. Why Home Assistant in an RV (and why maybe not)
The case for:
- Total control. Alert thresholds, escalation rules, quiet hours, who gets notified and how — all yours. No product manager decided your dog's safety threshold for you.
- No subscription required. The software is free; remote access can be free (section 4). The only recurring cost you can't engineer away is connectivity itself.
- Sensors for everything. Commercial monitors watch temperature and maybe power. Home Assistant will happily watch propane, batteries, humidity, the door you forgot to lock, and the 12V fridge — often through gear you already own.
- It's local. Automations run on the box in your rig. If the internet dies, the logic keeps running; only the notifications need a connection.
The honest costs:
- You are the support department. When an alert doesn't fire at 2 a.m., there's no 800 number — there's you, a flashlight, and a log file.
- It's a hobby that monitors your RV, not a product you buy. Budget a weekend for the build and an ongoing trickle of maintenance: updates, the occasional broken integration, sensor batteries.
- Reliability is a design problem you solve yourself. Commercial monitors put real engineering into surviving power loss. Your build survives brownouts only if you make it (section 6).
If that list made you tired instead of curious, stop here and buy something instead — genuinely, no judgment; section 7 has the decision framework. If it made you curious, keep reading. This is one of the most satisfying projects in RVing.
2. The brain: what to run Home Assistant on in a 12V world
In a house, this choice barely matters. In an RV it matters a lot, because your computer runs on battery power some of the time and dirty pedestal power the rest of the time, and every watt it draws off-grid is a watt your solar has to put back.
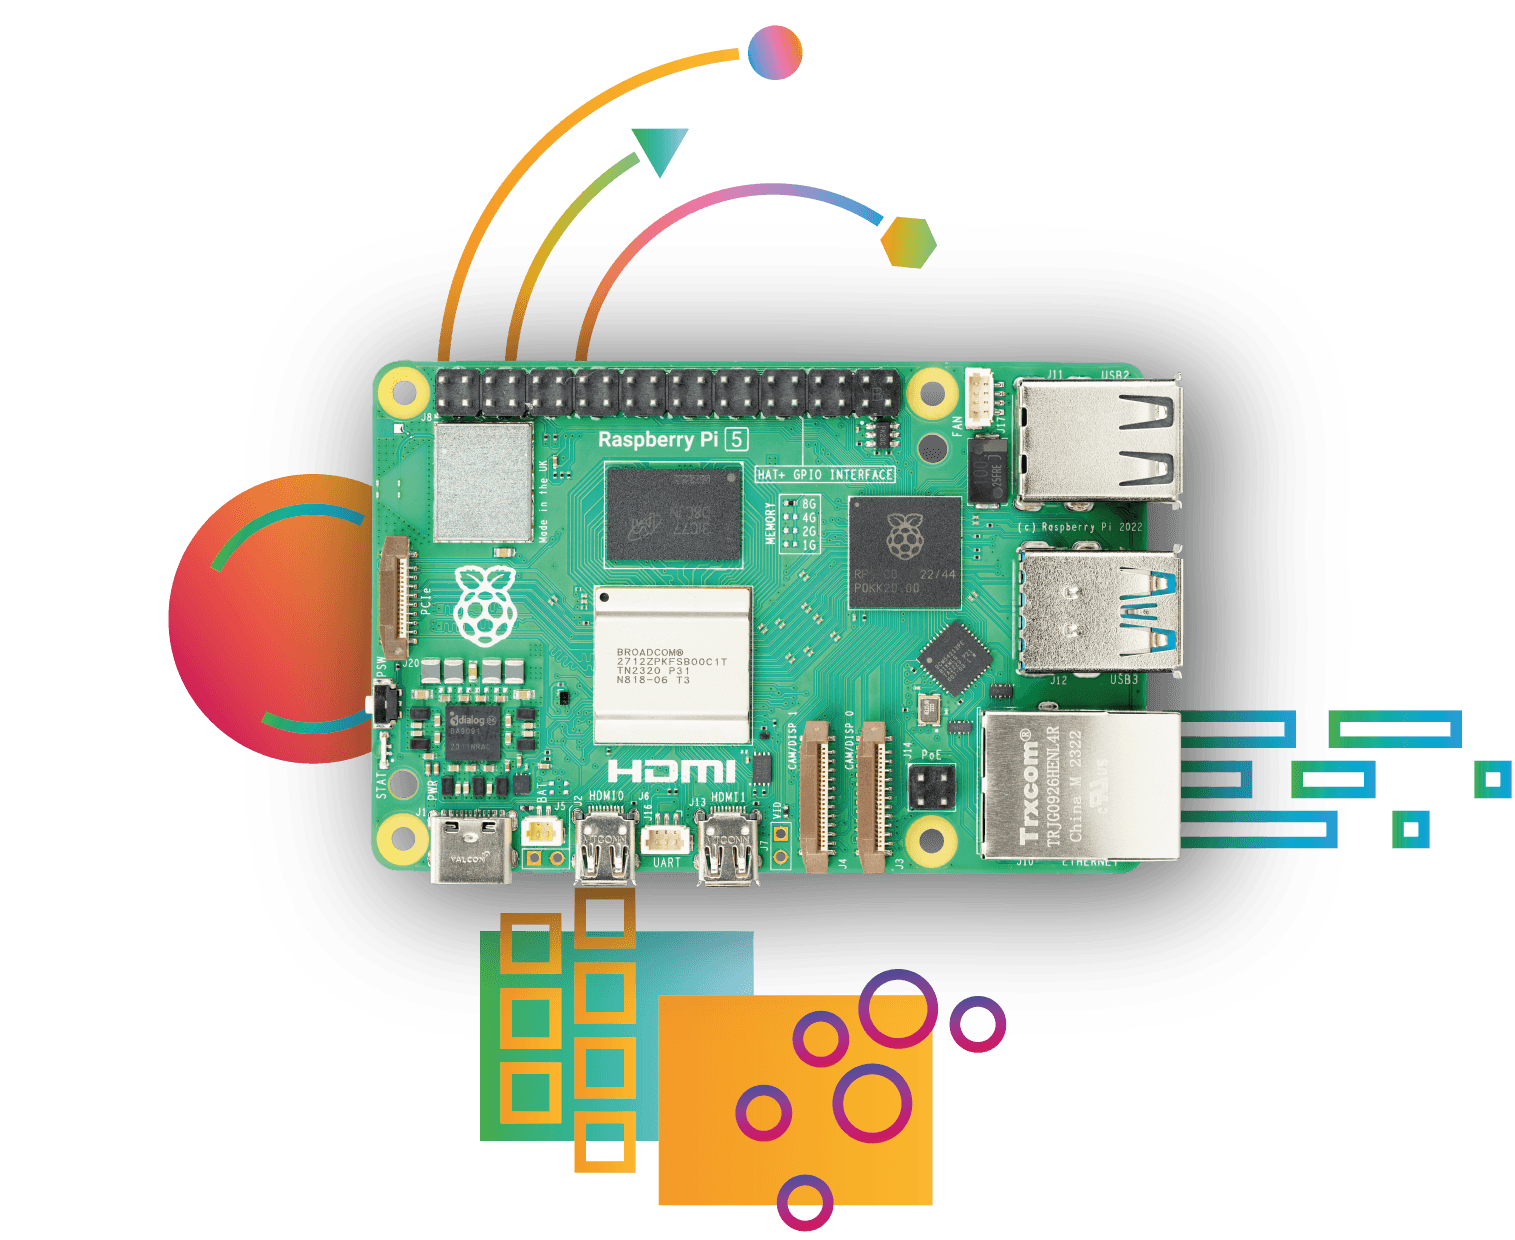
Image: Raspberry Pi, https://www.raspberrypi.com/products/raspberry-pi-5/
Raspberry Pi 5 ($110 for the 4GB board as of mid-2026 — DRAM-shortage pricing that Raspberry Pi says is temporary; call it $170–200 with power supply, M.2 HAT, SSD, and case) — the classic choice, with two RV-specific caveats. First: do not run it from a microSD card. Home Assistant writes to disk constantly, SD cards die from exactly that, and an RV's vibration and temperature swings make it worse. Use an NVMe SSD via an M.2 HAT, or at minimum a USB SSD — in 2026 this is the standard advice, not the cautious advice. Second: the Pi 5 wants a solid 5V/5A supply, which matters for how you power it (below). Idle draw is roughly 3W with an NVMe SSD — very solar-friendly.
Mini PC (N100 class, ~$150–250 with 16GB RAM and an SSD) — the power-user pick. An Intel N100 mini-PC runs Home Assistant OS effortlessly, has a real SSD out of the box, and leaves headroom for cameras and add-ons. The cost is idle draw: typically ~6–10W, double or triple a Pi. Irrelevant on shore power; real when boondocking — 10W is ~20Ah a day out of a 12V bank.
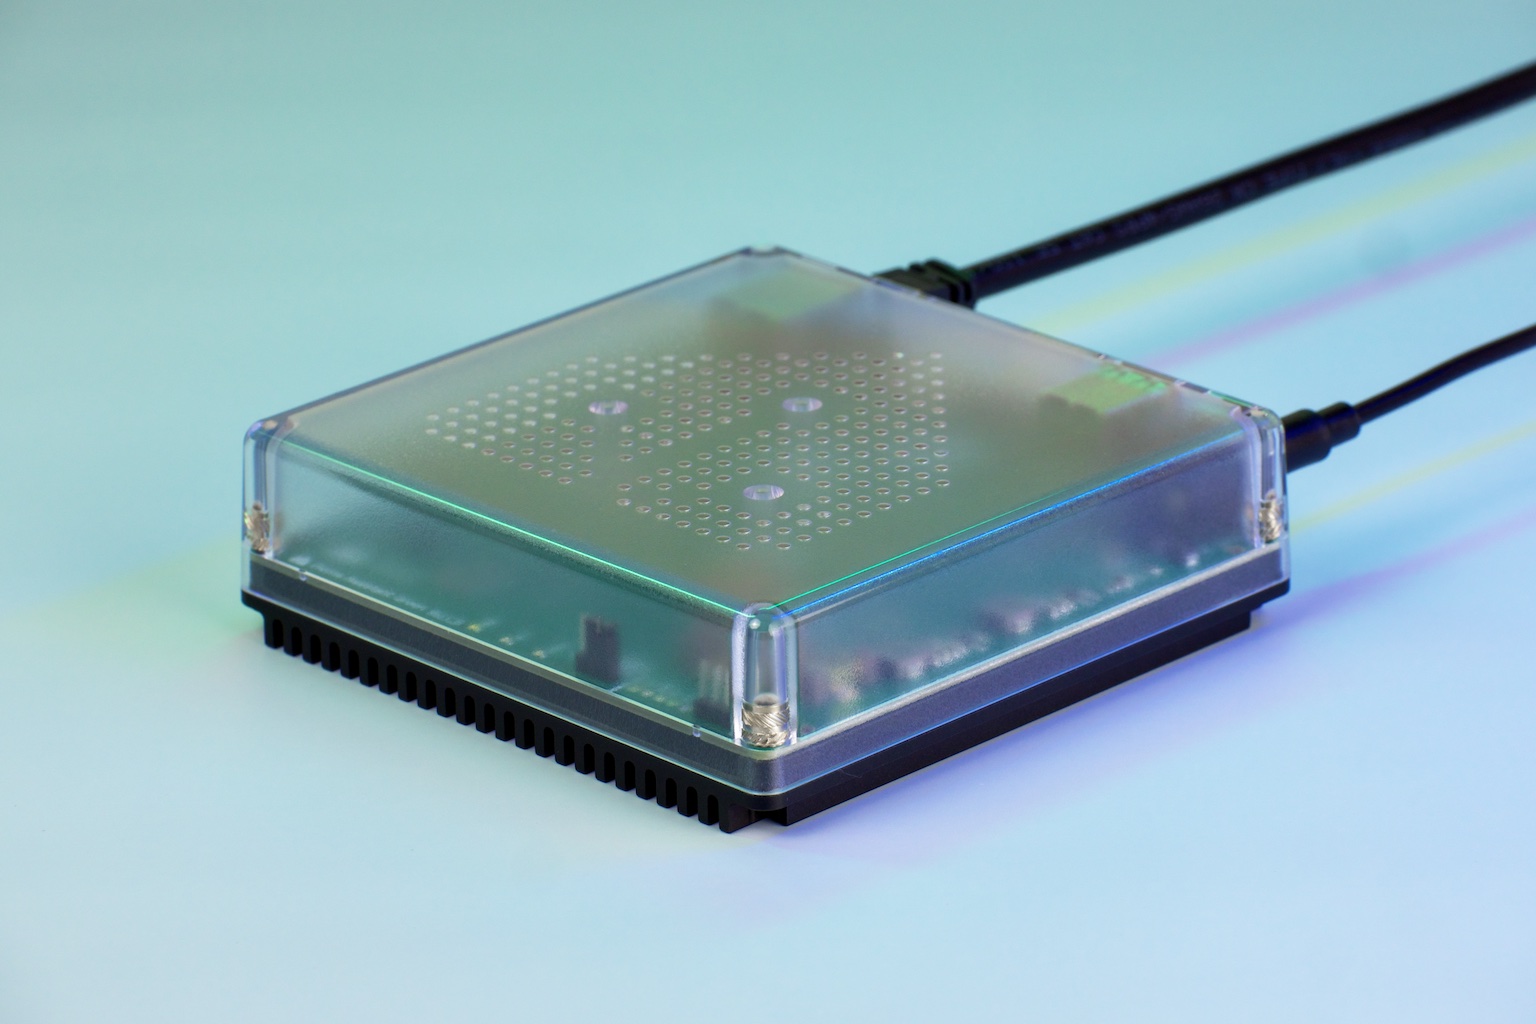
Image: Home Assistant (Nabu Casa), https://www.home-assistant.io/green/
Home Assistant Green ($199 — MSRP since Nabu Casa's January 2026 price change, and US resellers now track it) — the official plug-and-play box from Nabu Casa. Silent, low-power (spec'd at ~1.7W idle), eMMC storage instead of an SD card, Home Assistant preinstalled — plug it in and it works. It's the least tinker-y option, which is either the point or the problem, depending on who you are. It has no built-in Zigbee radio, but you'll add a USB dongle to any of these boxes (section 3), so that's not a differentiator.
Home Assistant Yellow — discontinued as of October 2025. Software support continues, so keep using one you own; don't hunt one down for a new build.
Our pick for most RV builds: the Pi 5 with NVMe SSD if you're off-grid often; the N100 mini-PC if you're mostly on hookups and want headroom; the Green if you want the shortest path to a working system.
Powering it from 12V. The wrong answer is a cheap cigarette-lighter USB adapter — most can't sustain the Pi 5's 5V/5A requirement and they brown out when your battery sags. The right answer is a quality 12V-to-5V buck converter rated comfortably above your load (for a Pi 5, a 5V/6A+ unit on a fused circuit); for mini-PCs, a 12V-native unit or a DC-DC supply matching its input. Wire it to a circuit that's always on — not one the inverter controls, or your monitoring dies the moment the thing it monitors fails.
Where to mount it: ventilated, dry, and central-ish for Zigbee/Bluetooth range — a tech cabinet or the space near your converter is typical. Avoid exterior compartments (condensation, temperature extremes). Central placement matters: your Bluetooth sensors, especially a Mopeka under a front-mounted propane tank, need to reach it.
3. The sensors: your parts list
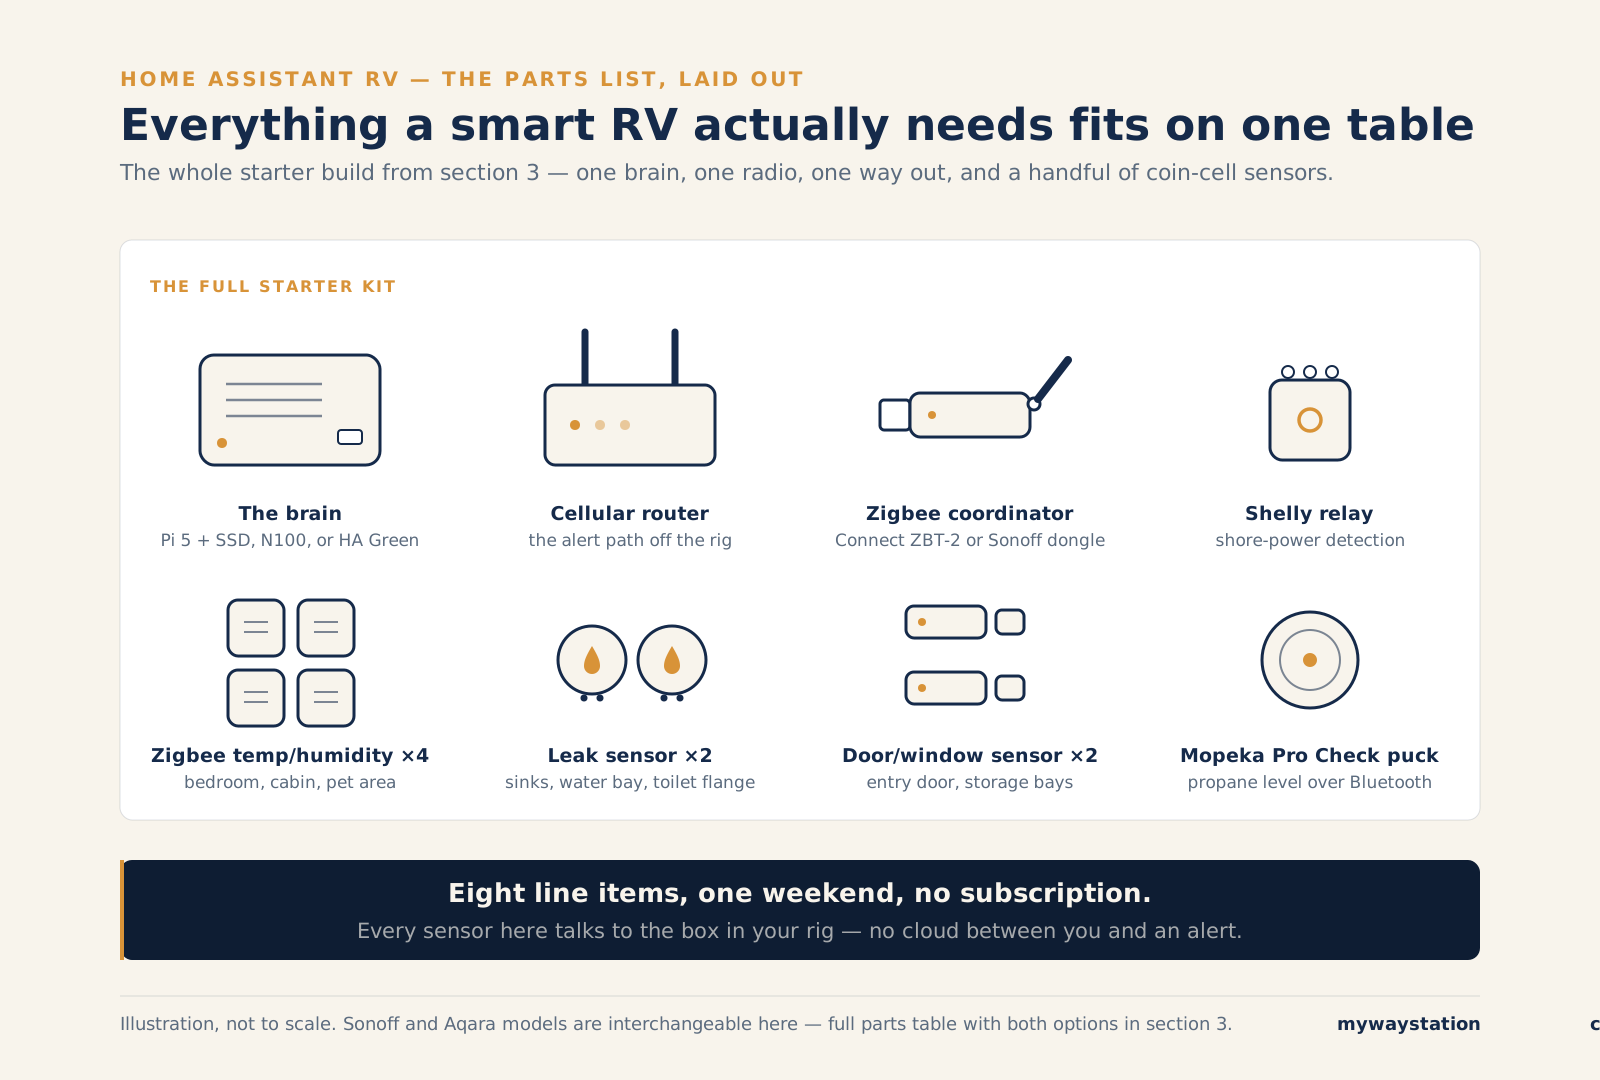
The whole starter kit, laid out — eight line items, one weekend, no subscription. (Illustration; we'll swap in a photo of the real spread when our build hardware lands.)
Here's a complete starter build. Prices below were checked in July 2026 against the manufacturers' own stores (itead.cc for Sonoff, aqara.com MSRPs, mopeka.com); Amazon street prices drift from these, usually downward:
| Part | What it does | Approx. price |
|---|---|---|
| Zigbee coordinator — Home Assistant Connect ZBT-2 | Radio that talks to all Zigbee sensors | $49 MSRP |
| — or Sonoff ZBDongle-E (budget pick) | Same job, older radio, proven | $20 (itead.cc) |
| Sonoff SNZB-02P temp/humidity (×3–4) | Interior temp — bedroom, main cabin, pet area | $11 each (itead.cc) |
| Aqara Temperature & Humidity (alternative) | Same job, has a display model (W100, $40) | $20 MSRP |
| Aqara or Sonoff (SNZB-05P) water leak sensor (×2–3) | Under sinks, water heater bay, around the toilet flange | $10–16 (Sonoff) / $19 MSRP (Aqara) |
| Sonoff SNZB-04P or Aqara door/window sensor (×2–4) | Entry door, storage bays | $11–14 (Sonoff) / $18 MSRP (Aqara) |
| Shelly Plug US Gen4 or Shelly EM Gen3 | Shore-power detection + power monitoring | ~$25–60 VERIFY at publish: Shelly US prices |
| Mopeka Pro Check | Propane tank level via Bluetooth | $66 (mopeka.com; Amazon matches) |
| Victron SmartShunt (if you don't have one) | Battery voltage, current, state of charge | ~$100–130 street |
Total for a solid starter kit, assuming you already own a Victron shunt: roughly $190–320 in sensors, on top of the $150–250 computer. Comparable coverage from commercial systems runs more hardware cost plus $10–40/month forever.
A few decisions worth explaining:
Zigbee, and which dongle. Zigbee sensors are the workhorses here: cheap, battery-sipping (a coin cell lasts a year or more), and they mesh. The coordinator is a USB stick on your HA box. In 2026 the clean recommendation is the official Home Assistant Connect ZBT-2 ($49, USB-C, modern Silicon Labs MG24 radio, external antenna); the Sonoff ZBDongle-E remains the value pick at $20, with Sonoff's newer Dongle Plus MG24 ($36) as its current-generation successor. Any of the three is fine in a metal box the size of an RV. One tip: use a short USB extension cable to get the dongle away from USB 3.0 ports, which are notorious 2.4GHz noise sources.
Bluetooth: the gear you already own. This is the part that surprises people — and it solves a frustration common enough that iRV2 has a thread dedicated to it: "Remotely Monitoring Bluetooth-Only RV Devices: Solutions and Limitations", where owners resort to leaving a tablet running TeamViewer in the rig just to reach battery monitors and control panels that only speak Bluetooth. Home Assistant is the gateway that makes those workarounds unnecessary. If your rig has a Victron SmartShunt or BMV battery monitor, Home Assistant's official Victron BLE integration reads it directly over Bluetooth — no GX device, no extra hardware. Enable "Instant Readout" in the VictronConnect app, copy the device's encryption key into HA, and your battery voltage, current, and state of charge become entities you can automate on. Same story for Mopeka Pro Check tank sensors: HA's official Mopeka integration auto-discovers them. (Both are core integrations — Mopeka since HA 2023.2, Victron BLE since 2025.12 — not community hacks.) If the built-in Bluetooth can't reach a far sensor, a $10 ESP32 running ESPHome acts as a Bluetooth proxy — though in a 30-foot vehicle you likely won't need one.
Shelly for power. Shelly makes small WiFi relays and energy meters with first-class HA support (local, no cloud). One Shelly on an outlet that's live only when the pedestal has power is the cheapest reliable shore-power detector there is — the full automation is in section 5. As of mid-2026, Shelly's US store carries the PM Mini Gen3 and EM Gen3 (50A/80A/120A clamp versions) for metering, while the plug has moved a generation ahead: the current model is the Shelly Plug US Gen4, with power metering built in.
What about tank level sensors for gray/black? The factory panel lies to everyone; it's practically an RV tradition. Doing better is its own saga (externally-mounted sensors, mostly). For this build, propane via Mopeka is the tank readout that's genuinely solved.
4. Connectivity: getting alerts off the rig
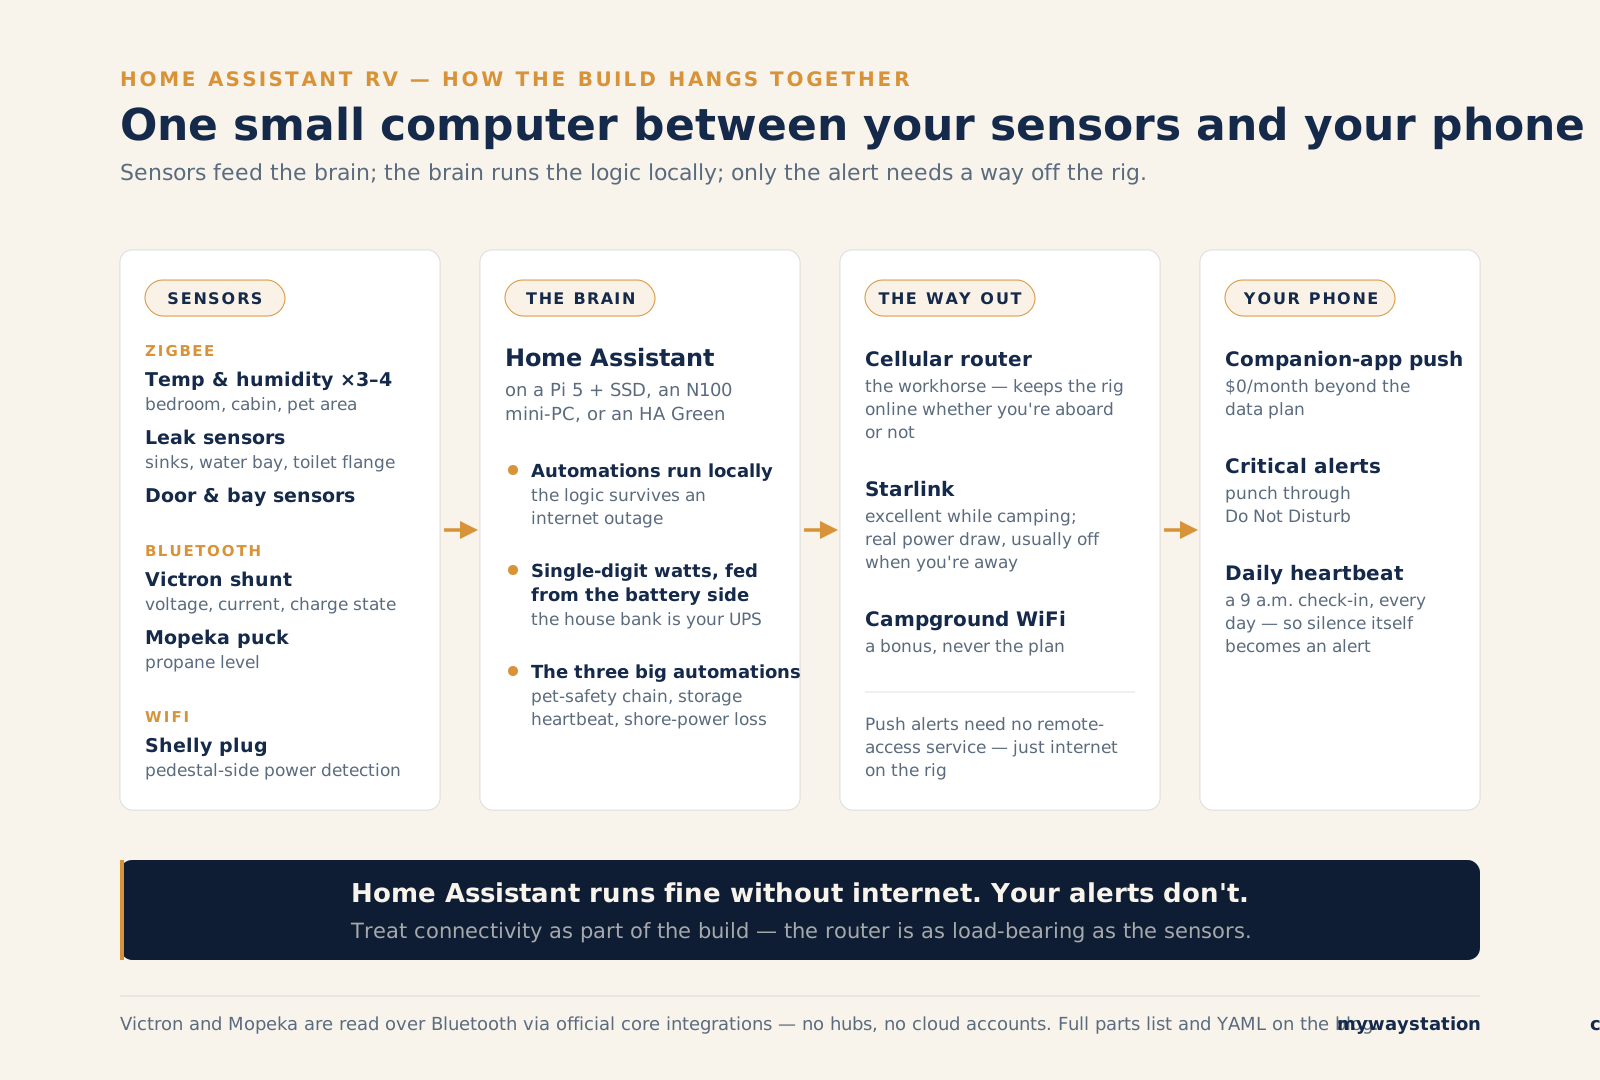
The whole build in one picture: sensors feed the brain, the brain runs the logic locally, and only the alert needs a way off the rig.
Home Assistant runs fine with no internet. Your alerts don't. A monitoring system that can't reach your phone is a diary, so treat connectivity as part of the build:
- Cellular router — the workhorse. A dedicated LTE/5G router with a data SIM keeps the rig online whether you're aboard or not. Carrier choice, data plans, and antennas are their own topic — covered in our guide to RV internet for monitoring.
- Starlink — excellent while camping, with two monitoring caveats: it draws real power (a problem for a stored rig) and most people power it down when away. Great primary link, poor always-on link.
- Campground WiFi — fine as a bonus, never as the plan.
Remote access — reaching your dashboard from afar — has two good answers:
- Home Assistant Cloud (Nabu Casa), $6.50/month or $65/year. Zero-config, includes 5GB of encrypted offsite storage for your latest backup (section 6 explains why you'll want that), and the money directly funds Home Assistant's development. If you pay for one thing in this build, this is the defensible one.
- Tailscale, free for personal use — the Personal plan is free forever, covers up to 6 users and unlimited devices, which is a family's phones plus the HA box with room to spare. A peer-to-peer VPN: install it on the HA box and your phone, and the dashboard is reachable from anywhere. Slightly more setup, zero dollars.
Critically, push notifications via the Home Assistant companion app work without either, as long as the rig has internet — the alert path doesn't require inbound remote access. The true minimum viable setup: cellular router + companion app, $0/month beyond the data plan.
5. The three automations that actually matter
You'll eventually automate your awning lights. Fine. But these three automations are the reason to do this build, and they're the ones we've written out in full. Entity IDs are placeholders — rename to match your setup.
Automation 1: The pet-safety chain
The scenario that sells every commercial pet monitor: pedestal drops power, AC dies, interior heats up. The right response is layered — alert on power loss immediately (it precedes the heat), alert on temperature independently (heat has other causes), and escalate until a human acknowledges. Heat timelines and threshold guidance are in our RV pet safety and temperature guide.
yaml
alias: "Pet safety - power loss or high temp"
description: "Immediate critical alert, then repeat every 5 min until acknowledged"
triggers:
  - trigger: state
    entity_id: binary_sensor.shore_power_present
    to: "off"
    for: "00:02:00"
  - trigger: numeric_state
    entity_id: sensor.main_cabin_temperature
    above: 85
    for: "00:05:00"
conditions:
  - condition: state
    entity_id: input_boolean.pet_aboard
    state: "on"
actions:
  - repeat:
      sequence:
        - action: notify.mobile_app_your_phone
          data:
            title: "🚨 PET SAFETY ALERT"
            message: >
              Shore power: {{ states('binary_sensor.shore_power_present') }}.
              Cabin temp: {{ states('sensor.main_cabin_temperature') }}°F.
            data:
              push:
                sound:
                  name: default
                  critical: 1
                  volume: 1.0
        - wait_for_trigger:
            - trigger: state
              entity_id: input_boolean.pet_alert_acknowledged
              to: "on"
          timeout: "00:05:00"
      until:
        - condition: state
          entity_id: input_boolean.pet_alert_acknowledged
          state: "on"
mode: single
Notes: input_boolean.pet_aboard is a helper toggle you flip when the dog's in the rig, so the automation doesn't cry wolf when nobody's home to endanger. The critical: 1 flag punches through iOS Do Not Disturb. Add a second notify targeting a spouse's phone if you're feeling thorough.
Automation 2: The storage heartbeat
For a rig in storage, the killer feature isn't the alarm — it's the daily proof of life. A report that arrives every day at the same time means silence itself becomes an alert. (Full storage-monitoring strategy, including what to power down and what to leave running, in our guide to monitoring an RV in storage.)
yaml
alias: "Storage heartbeat - daily report"
triggers:
  - trigger: time
    at: "09:00:00"
actions:
  - action: notify.mobile_app_your_phone
    data:
      title: "🏕️ RV daily check-in"
      message: >
        Battery: {{ states('sensor.smartshunt_voltage') }}V
        ({{ states('sensor.smartshunt_state_of_charge') }}%).
        Interior: {{ states('sensor.main_cabin_temperature') }}°F.
        Propane: {{ states('sensor.mopeka_tank_level') }}%.
mode: single
Pair it with the anomaly alarm — low voltage, and staleness (a sensor that stops reporting):
yaml
alias: "Storage - battery low or sensors silent"
triggers:
  - trigger: numeric_state
    entity_id: sensor.smartshunt_voltage
    below: 12.2
    for: "00:30:00"
  - trigger: state
    entity_id: sensor.main_cabin_temperature
    to: "unavailable"
    for: "06:00:00"
actions:
  - action: notify.mobile_app_your_phone
    data:
      title: "⚠️ RV needs attention"
      message: >
        Voltage {{ states('sensor.smartshunt_voltage') }}V /
        cabin sensor {{ states('sensor.main_cabin_temperature') }}.
        One of these is wrong. Go look.
mode: single
The heartbeat's real trick is psychological: after two weeks you notice the absence of the 9 a.m. message before any automation does — which covers the one failure no automation can, the box itself dying.
Automation 3: Shore-power loss detection
The foundation both of the above stand on. The elegant hack: plug a Shelly Plug (or wire a Shelly PM Mini) into a circuit that's hot only when the pedestal is live — ahead of the inverter, so your batteries can't mask the outage. When the Shelly sees voltage vanish (or goes unreachable because its circuit died), shore power is gone. Why pedestal-side sensing beats every alternative gets full treatment in our shore-power loss alert guide.
yaml
alias: "Shore power lost"
triggers:
  - trigger: numeric_state
    entity_id: sensor.shelly_pedestal_voltage
    below: 90
    for: "00:02:00"
  - trigger: state
    entity_id: sensor.shelly_pedestal_voltage
    to: "unavailable"
    for: "00:05:00"
actions:
  - action: notify.mobile_app_your_phone
    data:
      title: "⚡ Shore power lost"
      message: >
        Pedestal voltage: {{ states('sensor.shelly_pedestal_voltage') }}.
        Inverter may be carrying the load — AC is likely off.
mode: single
The for: delays are load-bearing: they filter the half-second blips that happen every time a campground's transformer hiccups, which would otherwise train you to ignore the alert. A monitoring system that cries wolf is worse than none.
6. Honest failure modes (and how to engineer around them)
Every commercial monitor's marketing implies DIY is fragile. They're not entirely wrong. Here's the actual failure catalog and the fix for each:
The brownout that bricks the boot. Pedestal power sags, your computer's supply dips, and the box ends up in a state where it never comes back — everything was fine until it silently wasn't. Mitigations: a quality buck converter fed from the battery side (the house bank is your UPS — the one place an RV beats a house for reliability), or a small UPS HAT for Pi builds. And enable the hardware watchdog: Home Assistant OS supports one that force-reboots a hung system.
SD card corruption. Worth repeating: HA's constant database writes eat SD cards, and this is the number-one killer of Pi builds. Use an SSD (or a Green, whose eMMC exists for exactly this reason), and schedule automatic backups off the rig — HA does this natively, and Nabu Casa subscriptions include 5GB of cloud storage for your latest backup, end-to-end encrypted.
The automation that silently breaks. You rename an entity, an update changes a behavior, a sensor battery dies — and an automation that fired perfectly for a year just... stops. Nothing tells you, because the system that would tell you is the system that broke. Mitigations: the staleness triggers in section 5 (alert on unavailable, not just bad values), and — the pro move — a periodic test: flip the breaker, confirm the alert arrives, time it. Commercial products get tested by thousands of users daily; your build gets tested by you or nobody.
The dead man's switch problem. If the whole box dies, no automation on it can tell you. The heartbeat pattern (section 5) covers this at the human layer; for a machine layer, free uptime services can watch for a periodic ping from your HA instance and email you when it goes quiet — Healthchecks.io monitors 20 checks on its free tier, and this build needs exactly one.
None of this is exotic — it's an afternoon of hardening on top of the weekend build. But it's the difference between a demo and a monitoring system, and it's exactly the work the subscription fee pays for in a commercial product. Do the work or pay the fee; there is no third option, whatever the forums imply.
7. Should you actually do this? The DIY-vs-buy decision
The honest framework, in three questions:
1. Is the building fun or a chore? If this article read like a project, build. If it read like a syllabus, buy. There's no shame in either answer — your dog doesn't care whether the alert came from YAML or an app.
2. Who needs to trust the system? If you're the only stakeholder, DIY is fine. If a spouse needs to check the rig from their phone, or a pet's life depends on alerts working during your off week, weigh the fact that commercial systems have a support department and you are yours.
3. What's the five-year math? DIY: ~$340–570 hardware, $0–78/year in optional services, plus a weekend up front and a few hours a year. Commercial: $100–200 hardware (a single monitor — not comparable whole-RV coverage) plus $120–480/year. Over five years DIY usually wins on dollars and always wins on capability; commercial wins on your time and on accountability.
If the answer is "buy," our ranked comparison of the best RV monitoring systems is the companion piece — what each commercial option gets right, and how each one fails. If the answer is "build": welcome. The r/homeassistant and Home Assistant community forums are unreasonably helpful, and iRV2's technology subforum has been quietly solving RV-specific corner cases for years.
FAQ
Can Home Assistant really replace a commercial RV monitor like Waggle or MarCELL? Functionally, yes — and it exceeds them, since it watches power, tanks, batteries, doors, and leaks, not just temperature. What it doesn't replace is accountability: a commercial product has a company behind its alerts; a DIY build has you. That tradeoff, not features, should drive the decision.
How much does a Home Assistant RV setup cost? Roughly $340–570 all-in for the computer, Zigbee coordinator, and a starter set of sensors — assuming you already own a Victron shunt and cellular internet. Ongoing cost can be $0/month (Tailscale) or $6.50/month (Nabu Casa) plus your data plan.
Does Home Assistant work without internet in the RV? The automations do — everything runs locally on the box. Notifications to your phone don't; alerts need a connection off the rig, which is why connectivity (section 4) is a first-class part of the build.
How much power does Home Assistant draw from my batteries? A Raspberry Pi 5 build idles around 3W, a Home Assistant Green under 2W, an N100 mini-PC around 6–10W. Call a working Pi build ~4W average — roughly 8Ah/day from a 12V bank, a rounding error with solar, meaningful in dark storage.
Can Home Assistant read my Victron and Mopeka sensors? Yes — both have official core integrations as of 2026. Victron devices with Instant Readout (SmartShunt, BMV, SmartSolar) are read over Bluetooth using an encryption key from the VictronConnect app; Mopeka Pro Check sensors are auto-discovered. No hubs, no cloud accounts.
Do I need Nabu Casa, or is Tailscale enough? Push notifications need neither — the companion app works whenever the rig has internet. For opening your dashboard remotely, Tailscale is free and works well; Nabu Casa ($6.50/mo) is easier and funds the project.
What's the single most common DIY failure? SD card corruption on Raspberry Pi builds, with power-loss boot failures close behind. Both are solved problems — SSD, battery-side power through a proper buck converter, watchdog enabled — but only if you solve them.
Home Assistant, Victron, Mopeka, Shelly, Sonoff, and Aqara are trademarks of their respective owners. This guide is independent — nobody paid for placement, and every product named has a real, verifiable Home Assistant integration as of publication.
Stay in the loop
Occasional updates from the road and the workbench — what we're learning, what we're building. No spam, easy out.
Draft preview — this form connects to the email service at launch.